Creating a Logo With Minimal Artistic Ability
At the beginning of 2021, I started to get into 3d modeling and printing, which lead me to open an Etsy shop. As part of that process, I created a basic logo based of off some images I had seen online.
At the beginning of 2021, I started to get into 3D modeling and printing, which lead me to open an Etsy shop. As part of that process, I created a basic logo based of off some images I had seen online.
I'm not very talented when it comes to drawing and art, so I decided to model it in Fusion 360 and use a rendering for the actual logo. It ended up looking like this:
I don't think it was too bad, but it was never my favorite and I prefer something a little more "square-sized" that fits better with avatars. As I start to pick things up again, I figure it's time for a refresh.
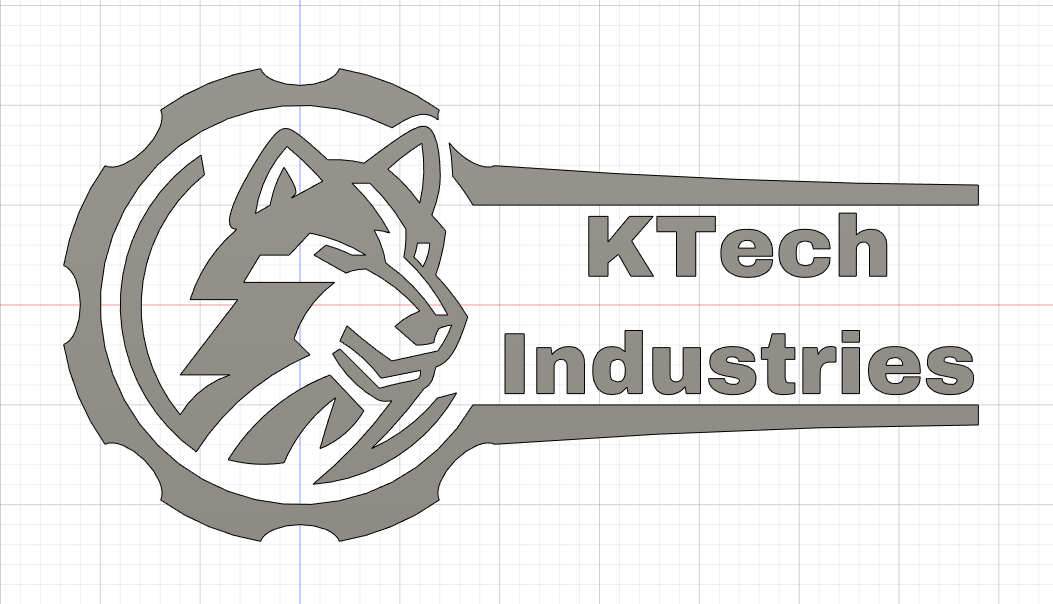
Finding Inspiration
As with most design projects, I needed to figure out what I wanted and find some existing designs for inspiration. I knew that I wanted to keep the gear aspect, but I also wanted to include something else as well - I just wasn't sure what.
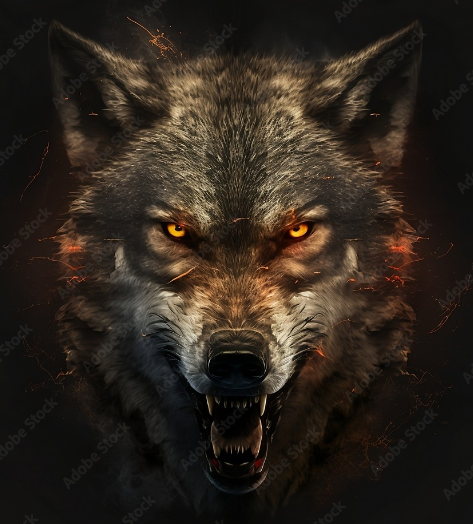
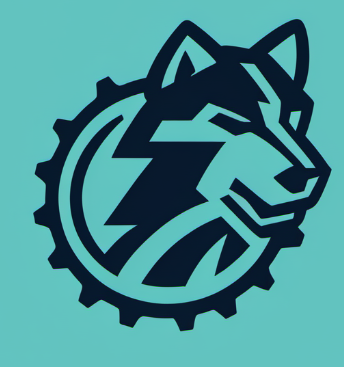
After thinking about it for a while, I narrowed it down to either a dragon, phoenix, or wolf. Ultimately, I decided on a wolf because they've always been one of my favorite animals. I started searching Google and Pinterest for designs and saw an aggressive design and some outlined images like these:
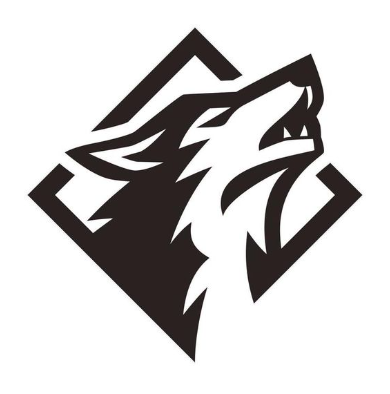

These were getting close, but still weren't quite what I was looking for. My next stop was a site that I found called Logo Diffusion that generates logos using AI. The majority didn't really fit with what I wanted, but one came pretty close - I just wanted fewer teeth and the wolf to be contained within the gear itself.
Building the Design
Now that I had something to go off of, I used the same process as my original logo and fired up Fusion 360 to create the model. I started with a sketch for the gear and imported the AI-generated logo to use as a reference. After that I extruded the necessary sections.
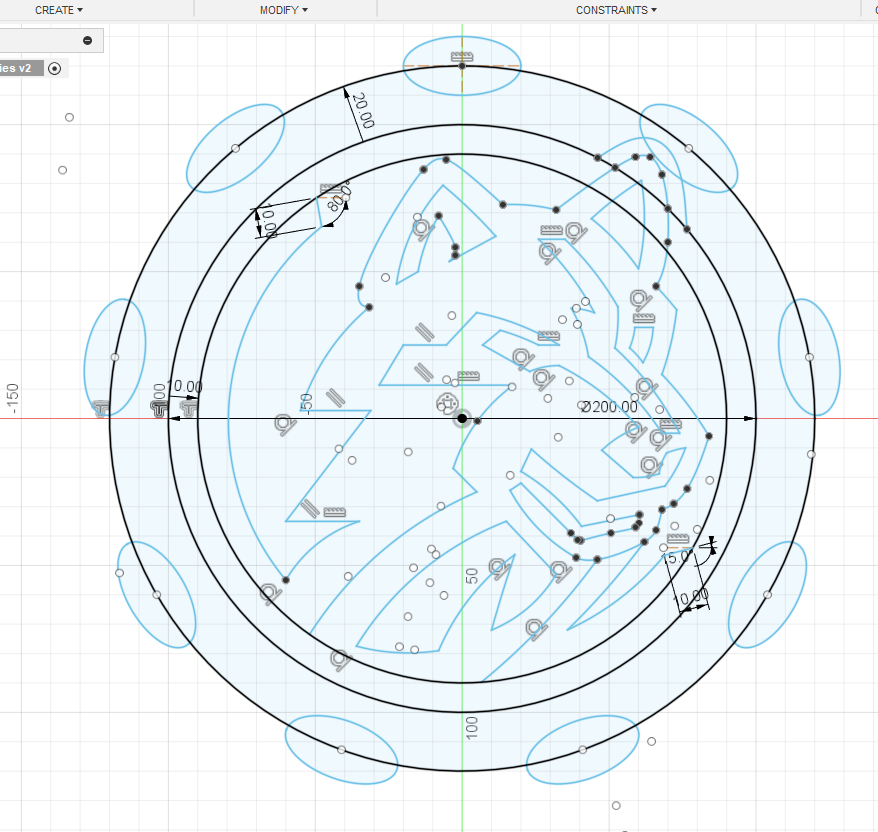
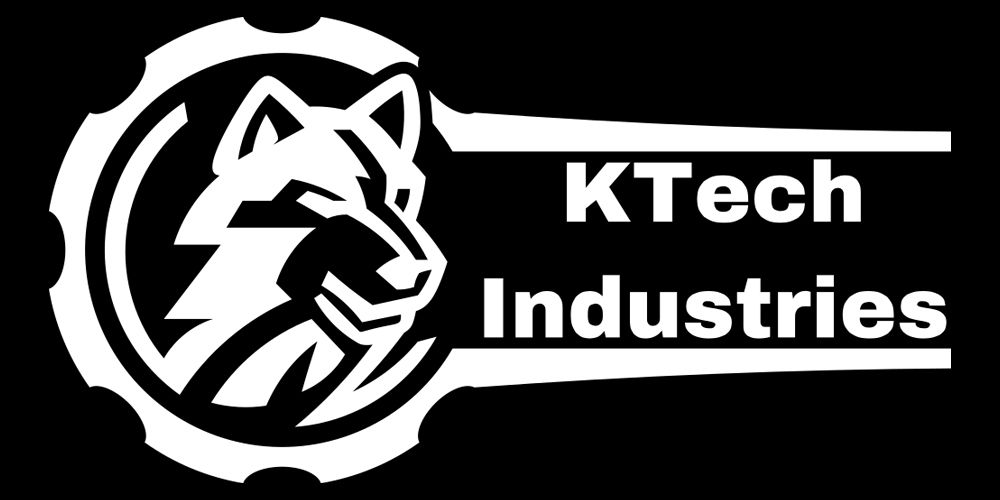
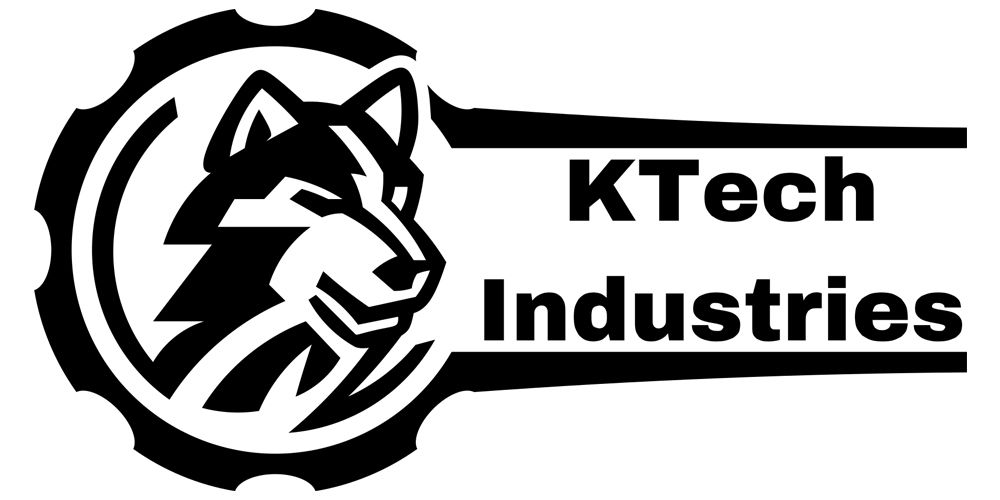
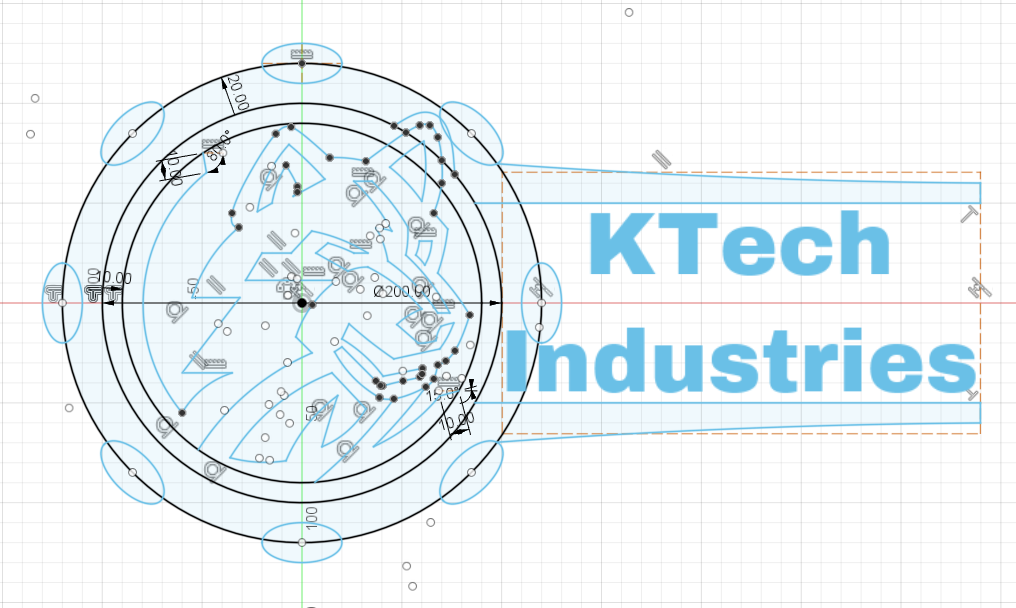
At this point, I decided to save and utilize Fusion's version control as this would be a good size for avatars and the favicon. I still wanted to add "KTech Industries" somewhere though, so I incorporated the previous design to do so.
Generating the SVG
Now that both models were created, rather than doing a rendering, I went searching for how to generate an SVG from Fusion. Thanks to this post, I came across the Shaper Utilities addon.
I had to re-orient the sketch along a different plane for it to export everything correctly, but overall it worked as expected. There was one issue in areas where the design was completely enclosed, like the ears, eye, and the inside of the "e" and "d" of the logo.
Rather than being transparent, there was a second layer on top that was white. Fixing that was relatively simple inside of Inkscape however with the help of StackExchange on how to delete portions of one layer based on another.
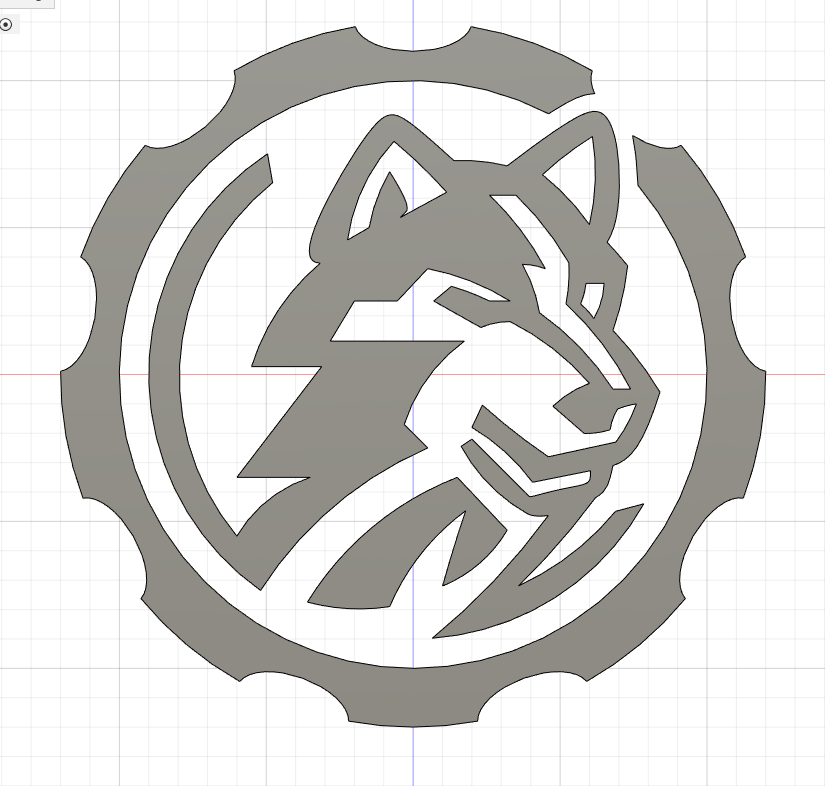
Finally, I combined some of the paths and updated the colors to end up with a transparent logo for both light and dark backgrounds